This New Zealand itinerary is for travellers looking to get their nature fix.
The South Island of New Zealand is perfect for it. Gorgeous sweeping vistas, alpine heights and slow valleys - the nature here is incredible.
And although there’s so much you can do in New Zealand - speed boats, snow sports, bungee jumping and a plethora of other adrenaline-fuelled activities, this 5 day New Zealand itinerary is focused on landscapes, sight seeing and hiking. Although that sounds like it may be a less thrilling approach, with just 5 days, it’s definitely no less exciting and action-packed.
A 5 day New Zealand itinerary for photographers
-
Day 1
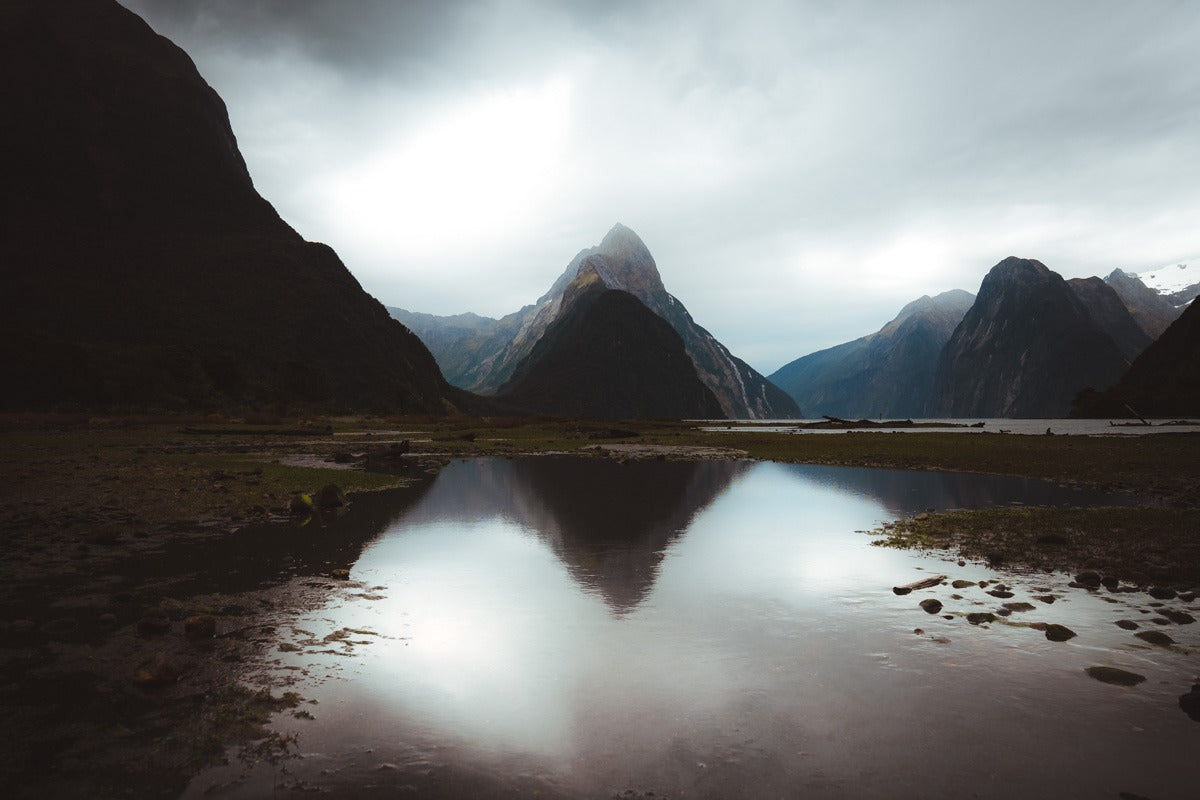
Milford sound
Let’s start the trip with a bang.
Land in Queenstown as early in the day as you can and pick up a rental car. There’s plenty of options for you there at the airport, but it pays to shop online and shop ahead so you can get the best deals.
Without even needing to go into Queenstown itself, stay in Frankton and head to the local “New World” at the Remarkables Park town centre. That’s the local supermarket, and it’s also where you can stock up on water, snacks, energy drinks, and other bits and pieces you need. There’s also a camping store in that town centre if you need any supplies there too.
Once you’re loaded up and ready to road trip, head to Milford Sound.
The road to the sound is full of picturesque mountains, valleys, prairies and plains. What’s supposed to be a 3 and a half hour road trip will definitely end up being longer, so allow about 5 hours travel time one way.
Some great spots to stop at on the way are:
- The devils staircase
- Eglinton Valley
- Monkey creek
- The valley after Homer Tunnel
When you eventually do arrive at Milford sound, consider spending the sunset down next to the water.
Note that if you’re heading there any time apart from Winter, there are a crazy amount of sandflies there that bite - bring repellant.
Stay overnight at once of the local accomodations (book ahead, they fill up fast), or if you’re camping/caravanning, there’s lots of spots nearby.
-
Day 2
Milford Sound / Glenorchy
On day two of this New Zealand itinerary, if you didn’t manage to stay for sunset the day before, consider doing the sound for sunrise! Alternatively, consider a sunrise at Monkey creek where the valleys open up.
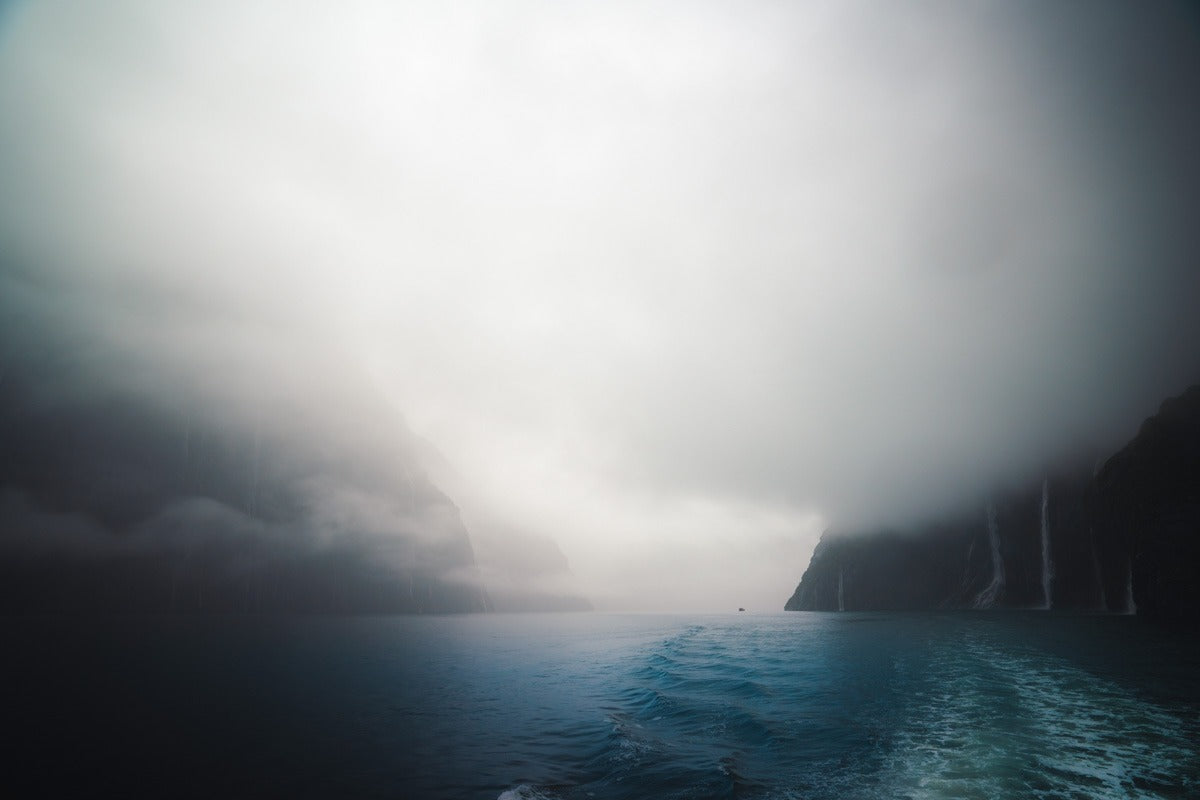
First thing in the morning, jump on a Milford Sound cruise. There are a bunch of companies that all do the cruise around the sound, they’re all pretty much the same route and very similarly priced. Any one will do, just try to book in advance if you can.
If you get lucky, it’ll rain. And although that sounds counter-intuitive, Milford Sound is actually known for the insane number of waterfalls that get created on the mountains when it rains. If you get lucky, you’ll know what I mean. Regardless of the weather though, a cruise is one of the best ways to see Milford Sound.
The cruise will only take a few hours, but after that you should get back on the road again.
Head back to Queenstown and set up camp or check in to accomodation there. Rest up a few hours, and head over to Glenorchy Wharf, a charming little hut and wharf that’s all over Instagram, but calm, peaceful and worth your visit anyway. Plus, it’s a short but picturesque 45 minute drive.
On the way, consider stopping at Bennetts Bluff lookout.
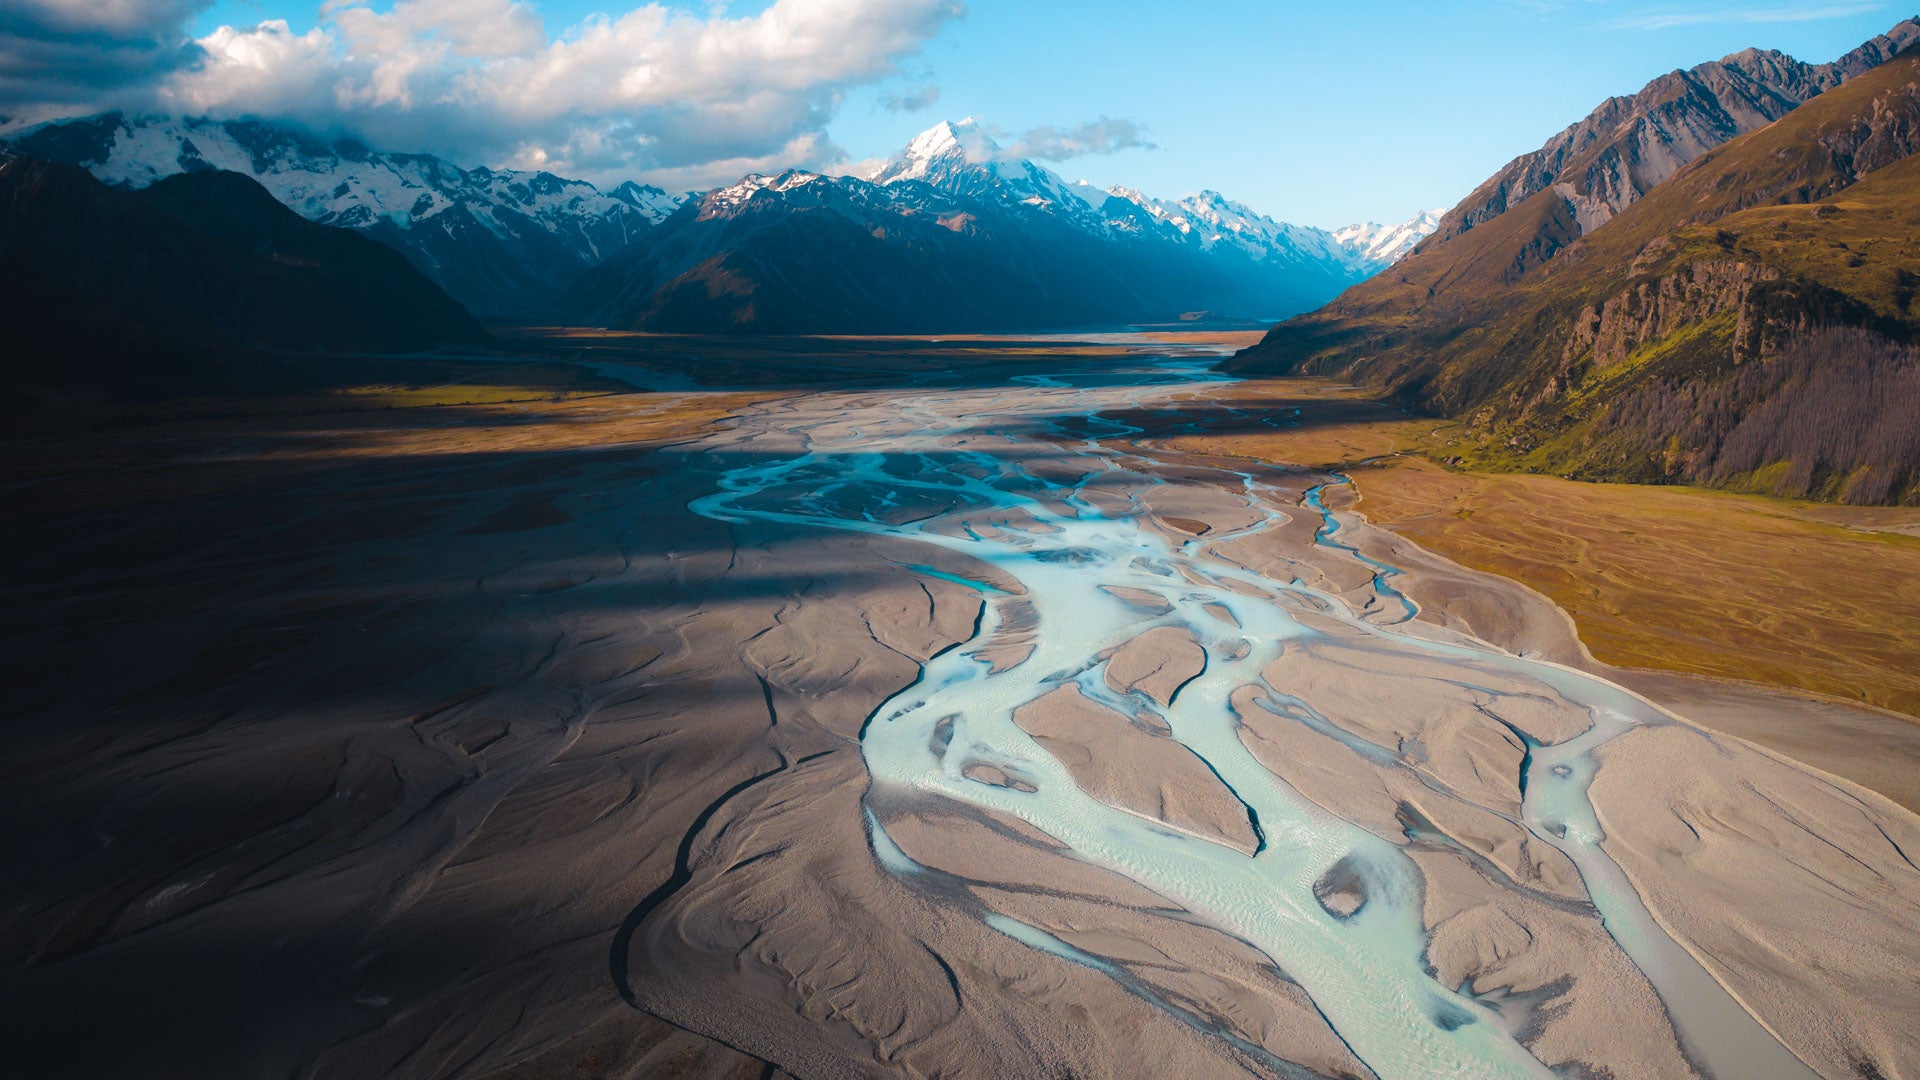
If you reach Glenorchy a little early, have some time to kill before sunset and have a drone, head north to Isengard Lookout, where you can get some amazing aerials of the many veins-like rivers there.
Back at Glenorchy Wharf for sunset, consider waiting until blue hour. When it goes just a little bit dark, the two overhead lamps will turn on, giving the wharf an ethereal feel.
After all that excitement, head back to Queenstown to rest. You’re about to get up in just a few hours.
-

Day 3
Roy's peak / Wanaka
Today's New Zealand itinerary activities are all about hiking. Better lace your boots up now.
Roy’s peak is in my opinion one of the best views New Zealand has to offer. To get to the parking lot from Queenstown takes just over an hour, and the hike itself varies depending on your level of fitness.
One common approach is to do the hike at night so you can reach the lookout for sunrise.
The hike itself is easy in technical difficulty - it’s a well worn old 4WD track with no scaling, uneven terrain or loose rocks. It’s technically easy to climb - but that doesn’t mean it’s easy to hike. It’s an incline the entire way up. Allow anywhere between 2 to 4 hours on the ascent, and 1 to 3 hours on the descent.
I’m a fairly fit male, I go to the gym 3 times a week and do kickboxing at least twice a week - we made the ascent in just over 2 hours, stopping every so often for short 5 minute breaks. Hopefully that provides you with some sort of guide.
The hike itself is also laden with shortcuts, so look out for those. Usually with these shortcuts you trade time for intensity - they’re steep. Also, the entire track has sheep around every other turn, so watch out for the poop.
After it’s all said and done and you’re at the lookout though, it’ll be worth it.
At the lookout you have the option of spending another 30 minutes hiking to the summit - but the views are largely the same I hear.
After absorbing the views and the downforce on your knees on the descent, rest in Wanaka. Eat some award-winning pies. You’ve earned it.
Because it’s pretty much a national icon by now, for sunset, That Wanaka Tree is right next door for you to shoot.
Camp or check in to accomodation in Wanaka and rest up! Sunrise again tomorrow.
-
Day 4
Lindis Pass / Mt Cook
Rise and shine. Back on the road first thing in the morning.
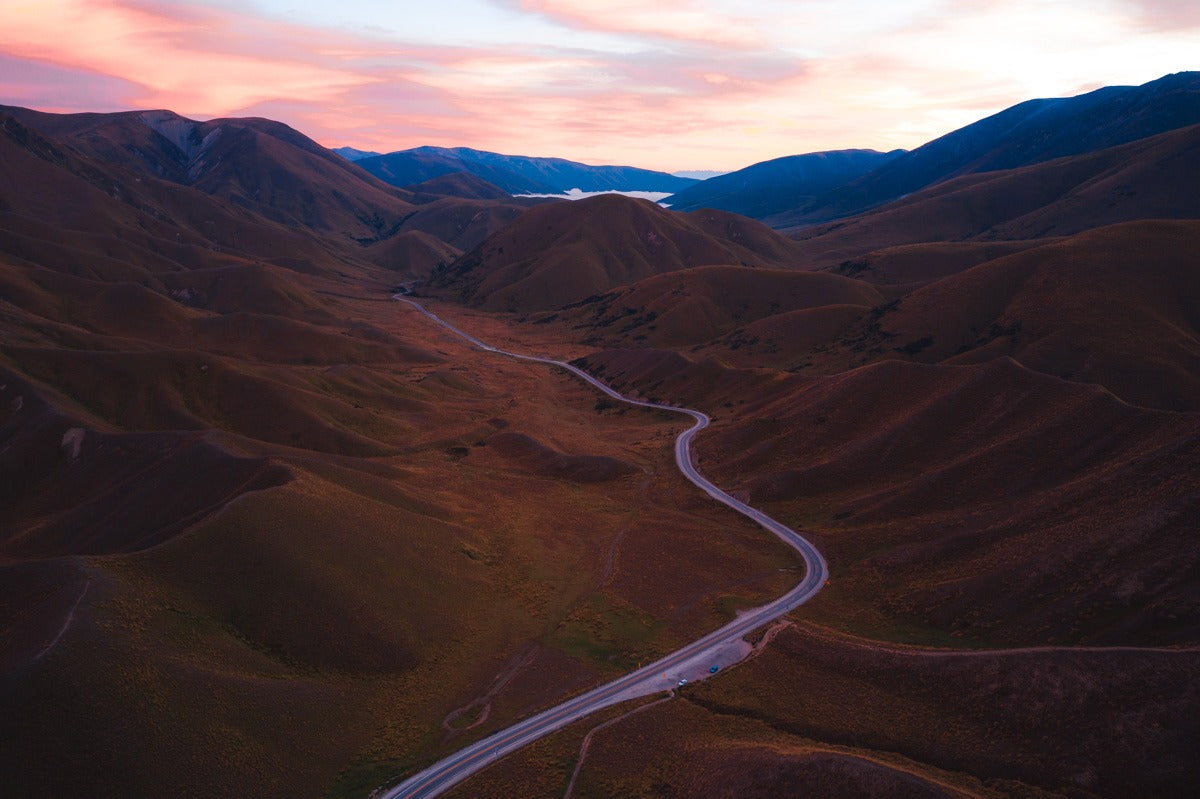
This time, to Lindis Pass - gorgeous valleys and an area with a high chance of morning fog.
I know you’re probably tired from yesterday, but I highly recommend that at the lookout, you turn around and take the (naughty hole in the fence) path that leads to the summit of the mountains.
Be careful though, it’s super super steep, with very loose soil. The view is amazing though.
After sunrise, head 50 minutes north to Pukaki lake. It’s a gorgeous glacier-fed lake that’s so blue you’ll only believe it when you see it with your own eyes. It’s also a great spot to see Mount Cook from on a good day.
Check in to accomodation in Pukaki or Twizel to save some time. For sunset, make your way into Mount Cook National Park. There’s another hike to be had.
Don’t worry, it’s easy. I promise.
It’s a 3 hour return hike - a fairly flat, well defined rocky path. It’s so easy, this place gets tourbuses full of Chinese grandmothers that hike it. No problem.
Enjoy the swing bridges, overland paths, and of course, Hooker lake itself as your reward at the end.
Stay for some astro photography if you’re keen for that too. Aoraki/Mount Cook National Park is one of 13 international dark sky reserves. That means the light pollution is controlled heavily here, with more stars visible here than most places in the entire world.
-
Day 5
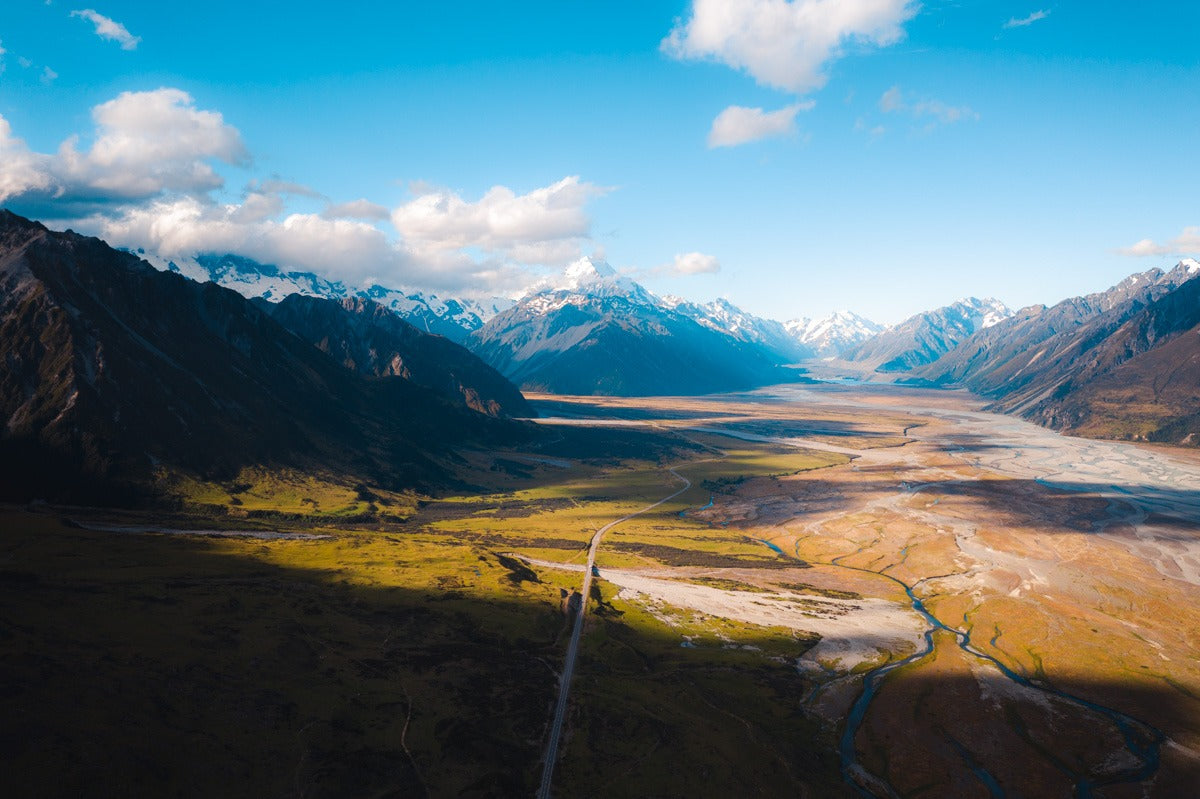
Mt Cook
For your last day in the south island, consider doing the Tasman Glacier hike.
It’s a short, but intense 1 hour hike up continuous stairs, eventually reaching the Tasman Glacier, a favourite among locals with icebergs visible in the lake even in the summer and the entire lake frozen in the winter.
From there, it’s probably time to start thinking about heading back.
From Pukaki it’s a 2hr 30 minute drive back to Queenstown airport, or just over 3 hours to Christchuch airport.
And that's it! I hope you enjoyed this New Zealand itinerary. Let me know if you end up using it!



0 comments