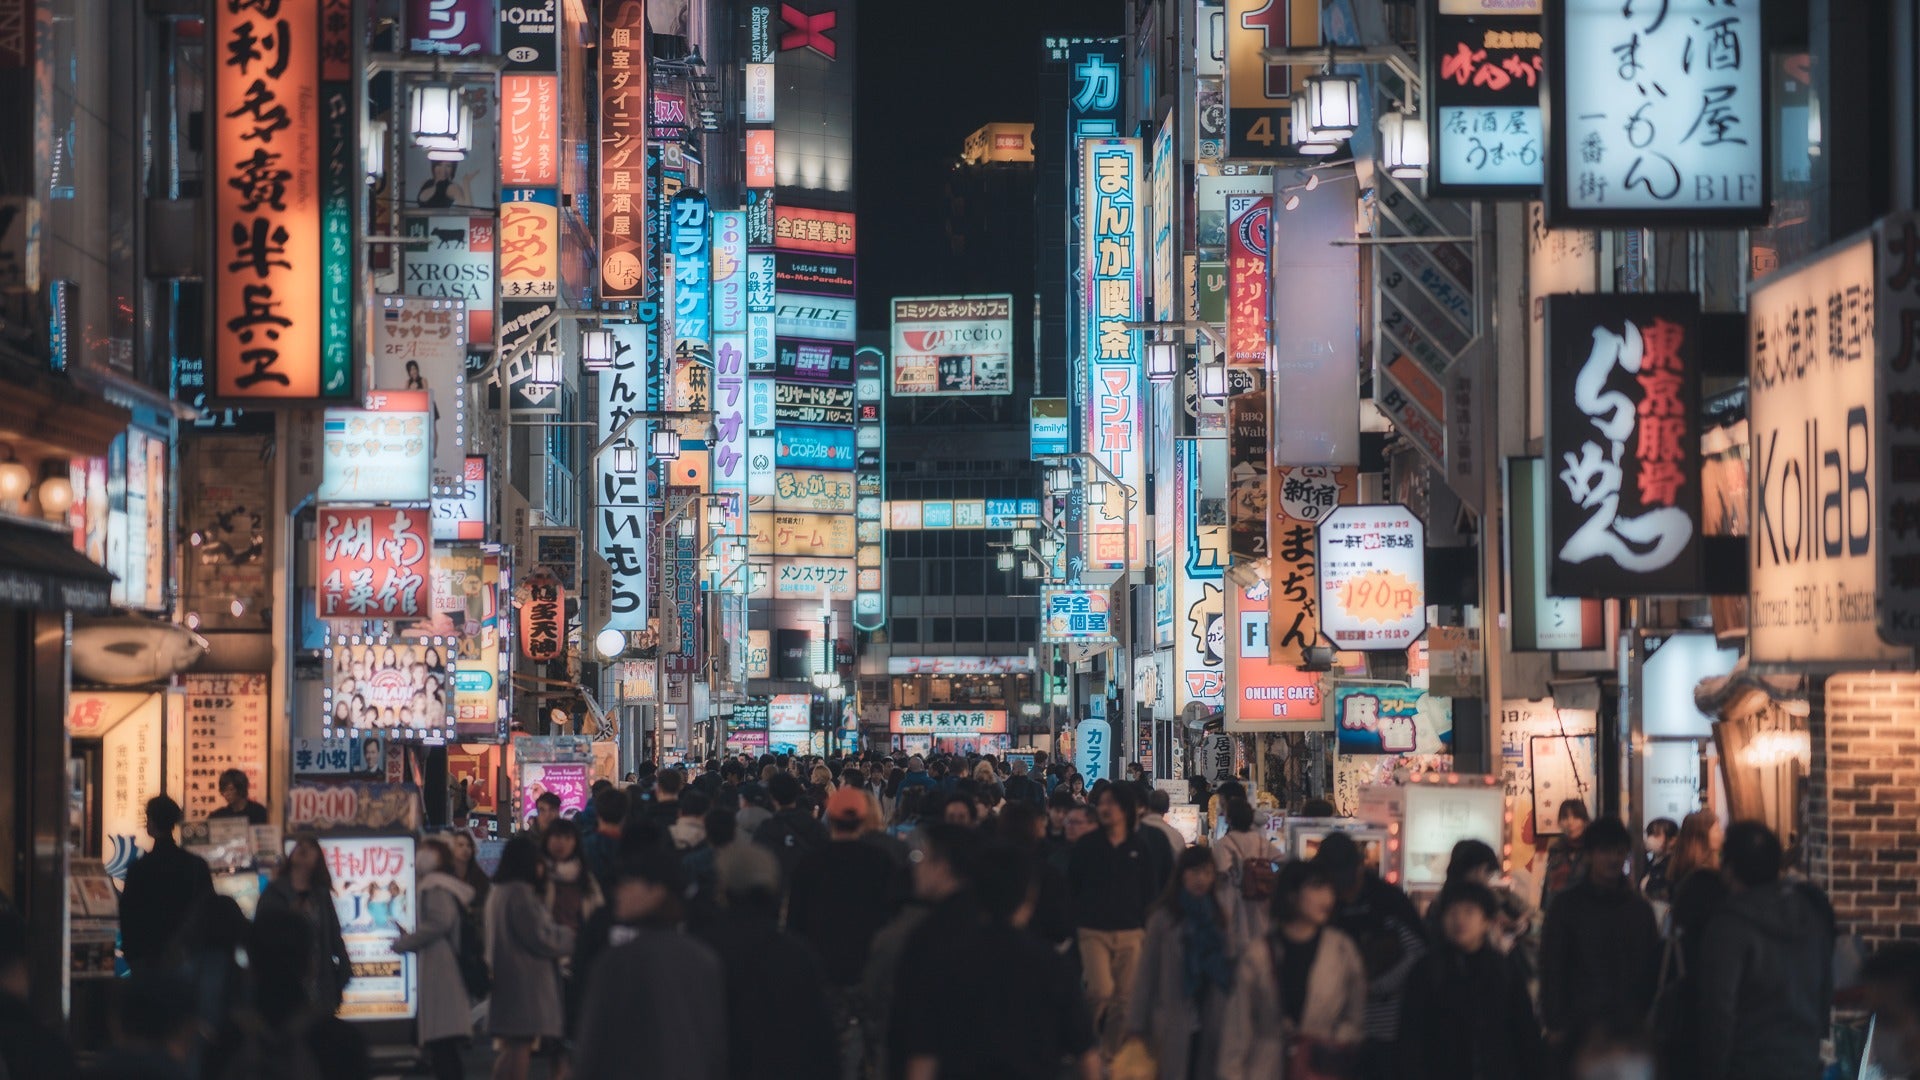
The Orton effect is a favourite post-processing technique among landscape photographers.
It’s an effect that gives highlights a ‘glow’ and a beautiful dreamy look, and over the last half decade has become very popular with landscape photographers.
Ask any dedicated landscape photographer about it and they’re bound to tell you either how much they love it or how much they hate it. Regardless, they’ll know all about it.
For my own images, it’s an effect I use sometimes - but more on the side of not often.
What the Orton effect is good for
How I tend to use it varies, but I tend to prioritise using it for adding a very slight glow to highlights, or smoothing out very textured, busy portions of an image like branches. I also occasionally use it for enhancing bokeh.
For me and my style of images, it’s mostly overkill and it’s very easy to overuse.
Subtlety is everything
However, it most certainly is a tool you should have in your toolkit so that you can decide when and where to use it for yourself.
For me, that means city and urban scenes too, because landscapes shouldn’t hog all the fun, right?
The Orton effect in easy 3 steps
It’s a super easy technique that will take you no longer than 30 seconds for the 1st and last steps, with the majority of the time taken in the middle - the masking.
- Creating the Orton effect
- Masking it
- Recovering details and sharpening
1. Creating the Orton effect
Load your image into Photoshop and duplicate the layer.
On your top layer, go to Filter > Gaussian Blur. Set the Radius value to the amount of megapixels your image is. I use the Sony A7R III, so I use 42 pixels as my setting.

You’ll now have a blurred image. Great. Now, we want to create an adjustment layer. Select the ‘Brightness/Contrast’ adjustment layer and ensure it’s on top of your blurred layer.
Right click and create a clipping mask so that the changes only affect the blurred layer below.

Double click on the adjustment layer to tweak its properties. What we’re doing here is bringing up the brightness so that the actual effect itself is brighter than the base image’s exposure. We’re also increasing the contrast to match. A good place to start might be 30 Brightness / 30 Contrast, but the best judge will be your eyes and experience.

2. Masking it
Grab your adjustment layer and blurred layer and group them together. Throw a layer mask on the group (you know, because destructive editing is a bad thing).


From here you can go as crazy or as subtle you want with applying the Orton effect to your image.
The simple version - Brushing

Fill your mask with black. Grab the Brush tool with a hardness of 0% and set the flow to 2%. Start slowly brushing the effect on to the image where you want it.
Combine a very low % transparent/black gradient as a faux-Graduated filter, or even use the Lasso tool with a very high feather around the areas you like.

Then, play around with the group’s Opacity until you get the amount you want, in the locations you want them.
The medium version - Blending mode masking

This is a shortcut version of a type of Luminosity masking that’s quick to do and easy to keep the effect looking subtle. It’s also the method I use most of the time.
With your group and mask selected, go to Image > Apply image. Set the Layer to Merged, Channel = RGB and change the Blending to Lighten at 100%. Press Ok. Then, set the group’s opacity to around 50% or to taste.

What will happen is that anything above 50% grey will be selected and masked into your group. This will give you a super subtle effect on your highlights as a base.

If you're looking for even more of the effect, from there, duplicate your group, and fill the group’s mask with black again. Then, you can use the Simple version above (brushing, gradients etc) for more local adjustments and control in an additive fashion. Neat!
The more advanced version - Luminosity masking
Of course if you know what Luminosity masking is, feel free to spend your time in the Channels and create your own. I know some people can get pretty crazy in this area, creating 15+ masks and super fine-tuning their selections. A bit overkill for this if you ask me, though.
Chances are if you know how to do this already, you already know how to do Orton and this guide isn’t for you anyway, so YMMV.
3. Recovering details and sharpening
A side effect of the blurring is that we end up losing detail along with the process too. We need to get that back.
The basic idea here is to use your masks on your favourite sharpening technique. Here’s mine:
Duplicate your base image (not the blurred one, the actual one) and drag it to the top of your layers.
Apply a Filter > Other > High pass filter. If you’ve got the Preview on, you can see what it’s doing - it gives you a grey overlay with white parts to show you where the sharpening will take place. The more radius pixels you have, the thicker the lines become, so if your scene is highly detailed, go for something lower. If your scene contains heavy lines like in architecture, go for a higher number. The medium is above 1.5 and that’s what I use most of the time.

Set the Sharpening layer’s blending mode to Overlay. Then, apply a mask to it by Command (or Alt) clicking the mask you used for your blurry layer. Then, apply a mask with that selection by using the add mask button at the bottom of your Layers panel.

Boom, done!

Dreamy, but sharp. Just remember, subtlety is key here. It’s very very easy to go overboard.
Happy blurring.


1 comments
Darren Haken @ Sat, Jan 23, 21
I really enjoyed this article, I wasn’t familiar with the technique. I’ve been using Lightroom for 99% of my editing but over the Covid period, I’m trying to broaden out into Photoshop and learn where using it makes sense over my traditional Lightroom workflow.
Thanks!